
If you are a new and proud Cricut owner, you might find yourself feeling intimidated by all the fancy projects people are posting. Don’t feel intimidated and don’t be afraid to open your brand new Cricut machine. Once upon a time all of us were beginners who made tons of mistakes and learned along the way.
One of the best ways to learn is to start with simple projects to help you to get used to simple commands, how to size your project, etc. You build on these simple projects and move towards more complex projects. Don’t be surprised at how quickly you can jump from a simple project to your next big challenge.
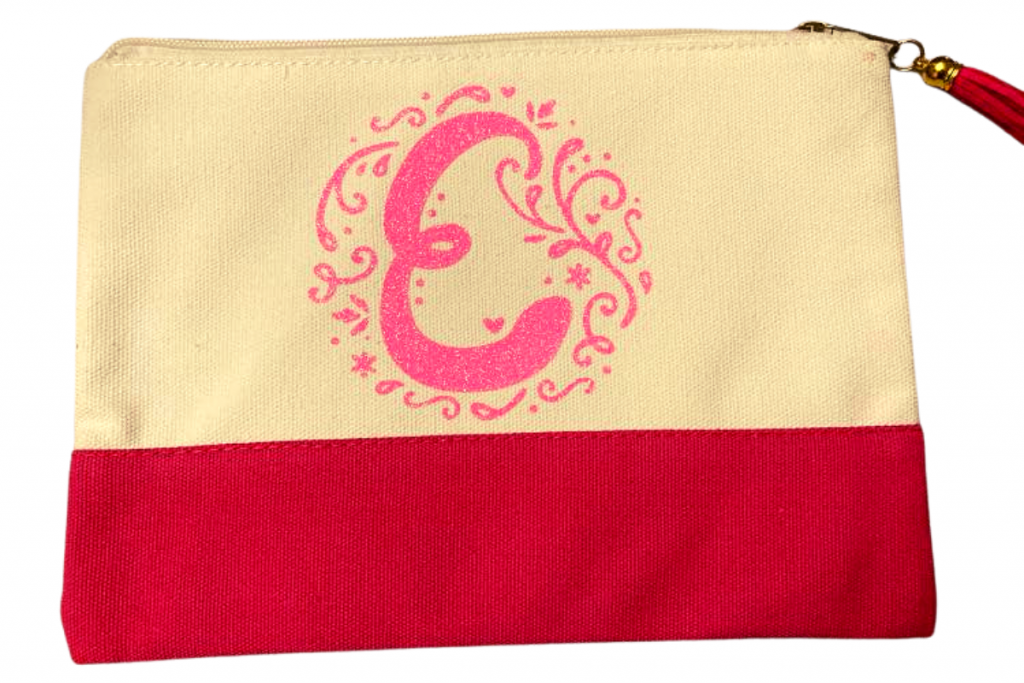
This easy Cricut project using HTV is a great one for beginners as well for seasoned crafters. It is a wonderful crafting project for kids. They would love to help you with weeding or pressing HTV. The result would make an adorable gift. You don’t need to stress out over the process – you just need a little help. Included here are supplies, tips, detailed steps, and a full tutorial that will explain the entire process.
Let’s get going with this project. No Time to Read This Project Right Now? If you need to come back to this, be sure to save or share this free tutorial. Most people save it to a crafting pinboard or share it with a Facebook group focused on crafts.
Materials:
- Cloth Make-Up Pouch. I usually get them from Michaels
- HTV – Siser brand is my go-to. I order from Expressions Don’t forget to use my coupon TIPS
Steps:
- Download, unzip and import your SVG into Design Bundle. Unsure how to do that, this tutorial will walk you through the steps
- Measure the space on your pouch for your design. Adjust the size in Design Space. Quick tip – you can cut a square from paper to help give you a visual idea of how big or small you need to make your design. You can create a square in Design Space the same size as the pouch and overlay your design to help you with the sizing.
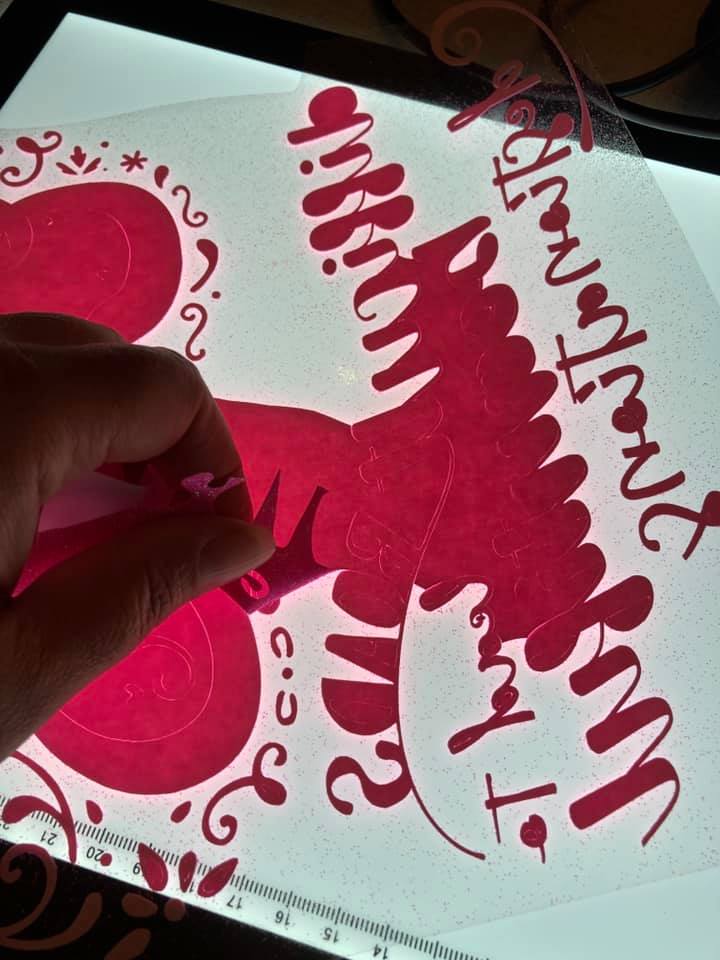
- Cut out your design. Remember that you need to mirror for HTV.
- Weed your design. For this project, I used glitter HTV. It can be really hard to see cut lines when working with glitter HTV. Cricut’s BrightPad is a perfect tool that helps for easy weeding.
- Place your weeded design over your pouch, cover it with either butcher’s paper and/or a piece of cotton cloth, and press it. For HTV to adhere nicely it requires pressure. If you are using a regular iron and/or Cricut Easy Press you’ll need to use your body to apply that pressure. Trying to understand the differences between heat presses? Press Information
Enjoy your craft!

Get creative
- Create Paper Flower Template with Design Space – Create your own flower!
- Acrylic Sign DIY Project – Enjoy Canvas
- Wine Bottle Centerpiece Tips – Tips for a great bottle display
Save and Share with fellow crafters, friends, and family
Your shares help this site grow so more people can live, learn and make beauty.

0 Comments