Hello new Cricut owner! If you are reading this, it tells me you are looking to learn what transfer tape used for Cricut projects? Or perhaps you want to know if you need transfer tape for Cricut projects? But above everything else you probably want to know what is the best transfer tape for Cricut projects.
Let’s first learn about the transfer tape itself. No Time to Read This Project Right Now? If you need to come back to this, be sure to save or share this free tutorial. Most people save it to a crafting pin board or share it to a Facebook group focused on crafts.
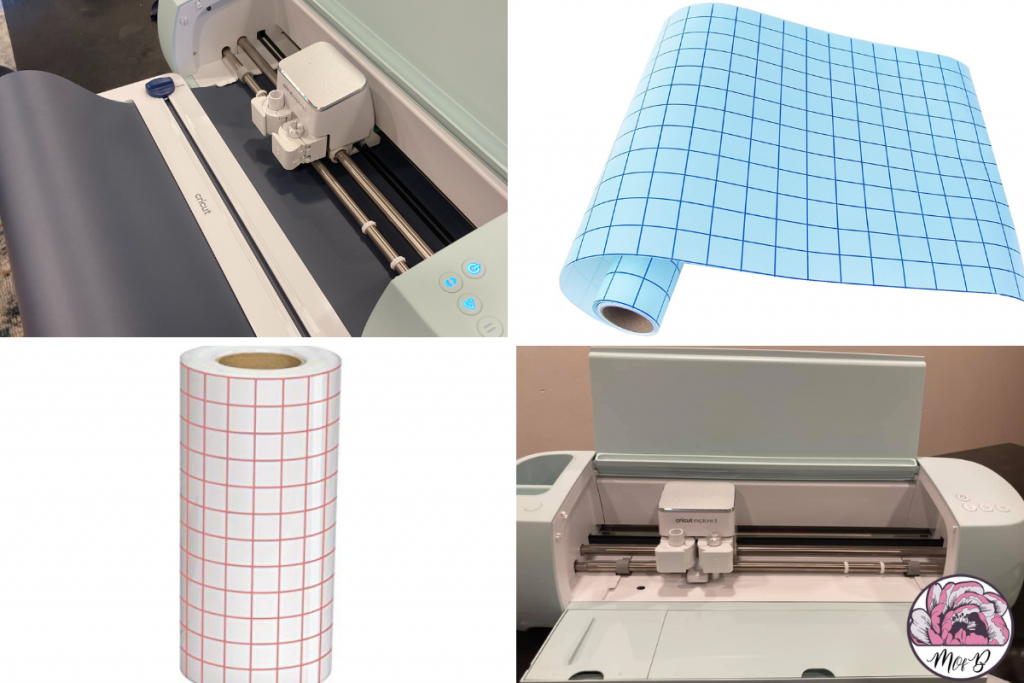
Now let’s learn some fun facts! Transfer tape is a thin, see through, sticky material that you use to transfer an adhesive vinyl decal to your surface. After weeding your decal, you pick up your design with the transfer tape (removing it from the backing) and lay it down on to your surface.
Not all transfer tapes are alike. The level of stickiness differs between different types. Your choice of selecting which transfer tape to use is determined by your material (for example glitter vinyl requires stronger transfer tape) and the surface you are working with. Bellow are examples of which transfer tape to use for different materials/surface
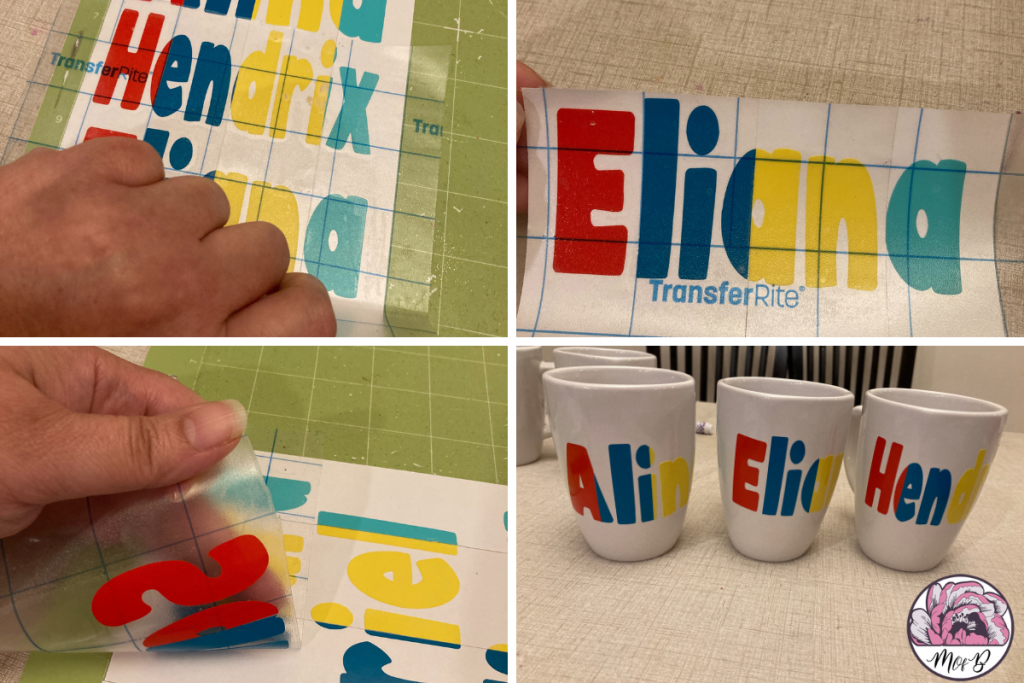
- Clear Contact Paper
- When working with putting things on glass and/or cardstock – is a great choice
- Medium Tact
- Great for working with wood, metal surface,
- Cricut Brand
- Can be hard to work with. It is known to not release vinyl easily. With that said, a great deal of people enjoy working with it.
Which leads us to question about, which one of them is the best? The answer is all of them work. The key is to know how to handle it. For example Cricut brand is known to have hard time to release vinyl. It is best NOT to use this tape when either working with small design and/or putting it on glass. But it would work great for putting vinyl on wood. My personal prefect is Medium Tact. I like that I can re-use it several times. It adheres great on all surfaces. But I always remember to rub it against hard surface to remove its stickiness before applying it on paper and/or glass.
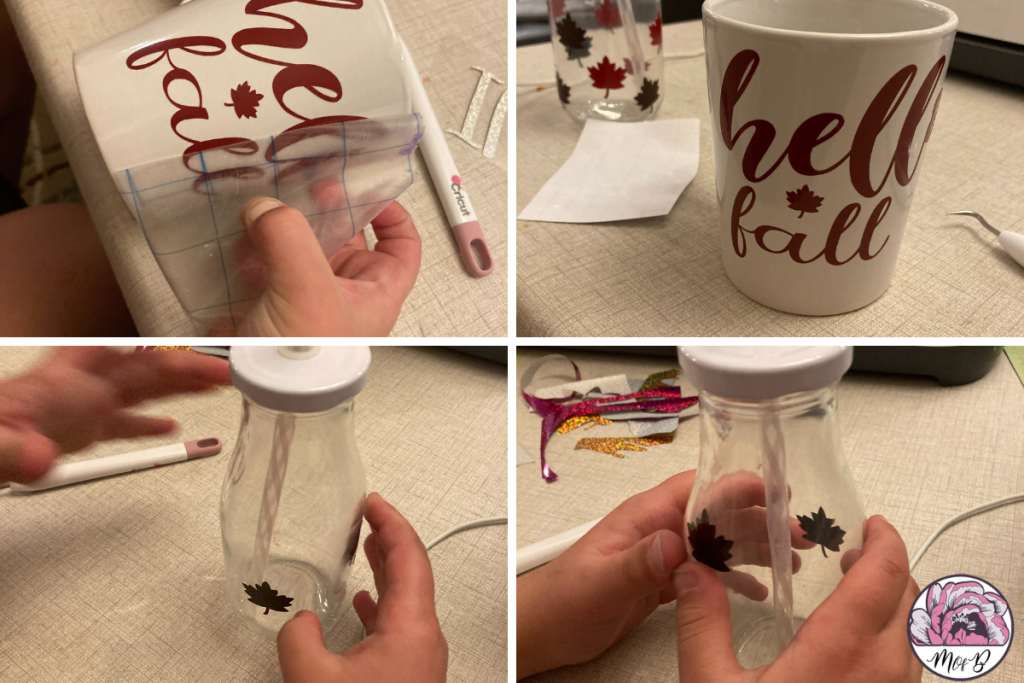
Now that you have basic idea of different type of transfer tapes available to you, let’s turn to quick steps on how to apply transfer tape for your projects.
- Peel liner from transfer tape.
- Attach a small area of transfer tape to your design. This can either be the center or one end of your design.
- Use a scraper to burnish transfer tape onto your design, working outward from where you attached the small area. You can use credit card and/or scissors. Personally I love using my Cricut scraper for this.
- Turn your vinyl over and burnish the back side.
- You are done!
Cricut Tips & Tricks


0 Comments