
I am always on the lookout for an easy project to do for sprucing the house up with a new finishing touch or serving as a décor touch for my parties. After all, I am Hostess with the Mostess. What about you? Do you like easy projects? Do you like complex? Perhaps you prefer to mix and match? What about hosting? Is that a “yay” or “nay” for you?
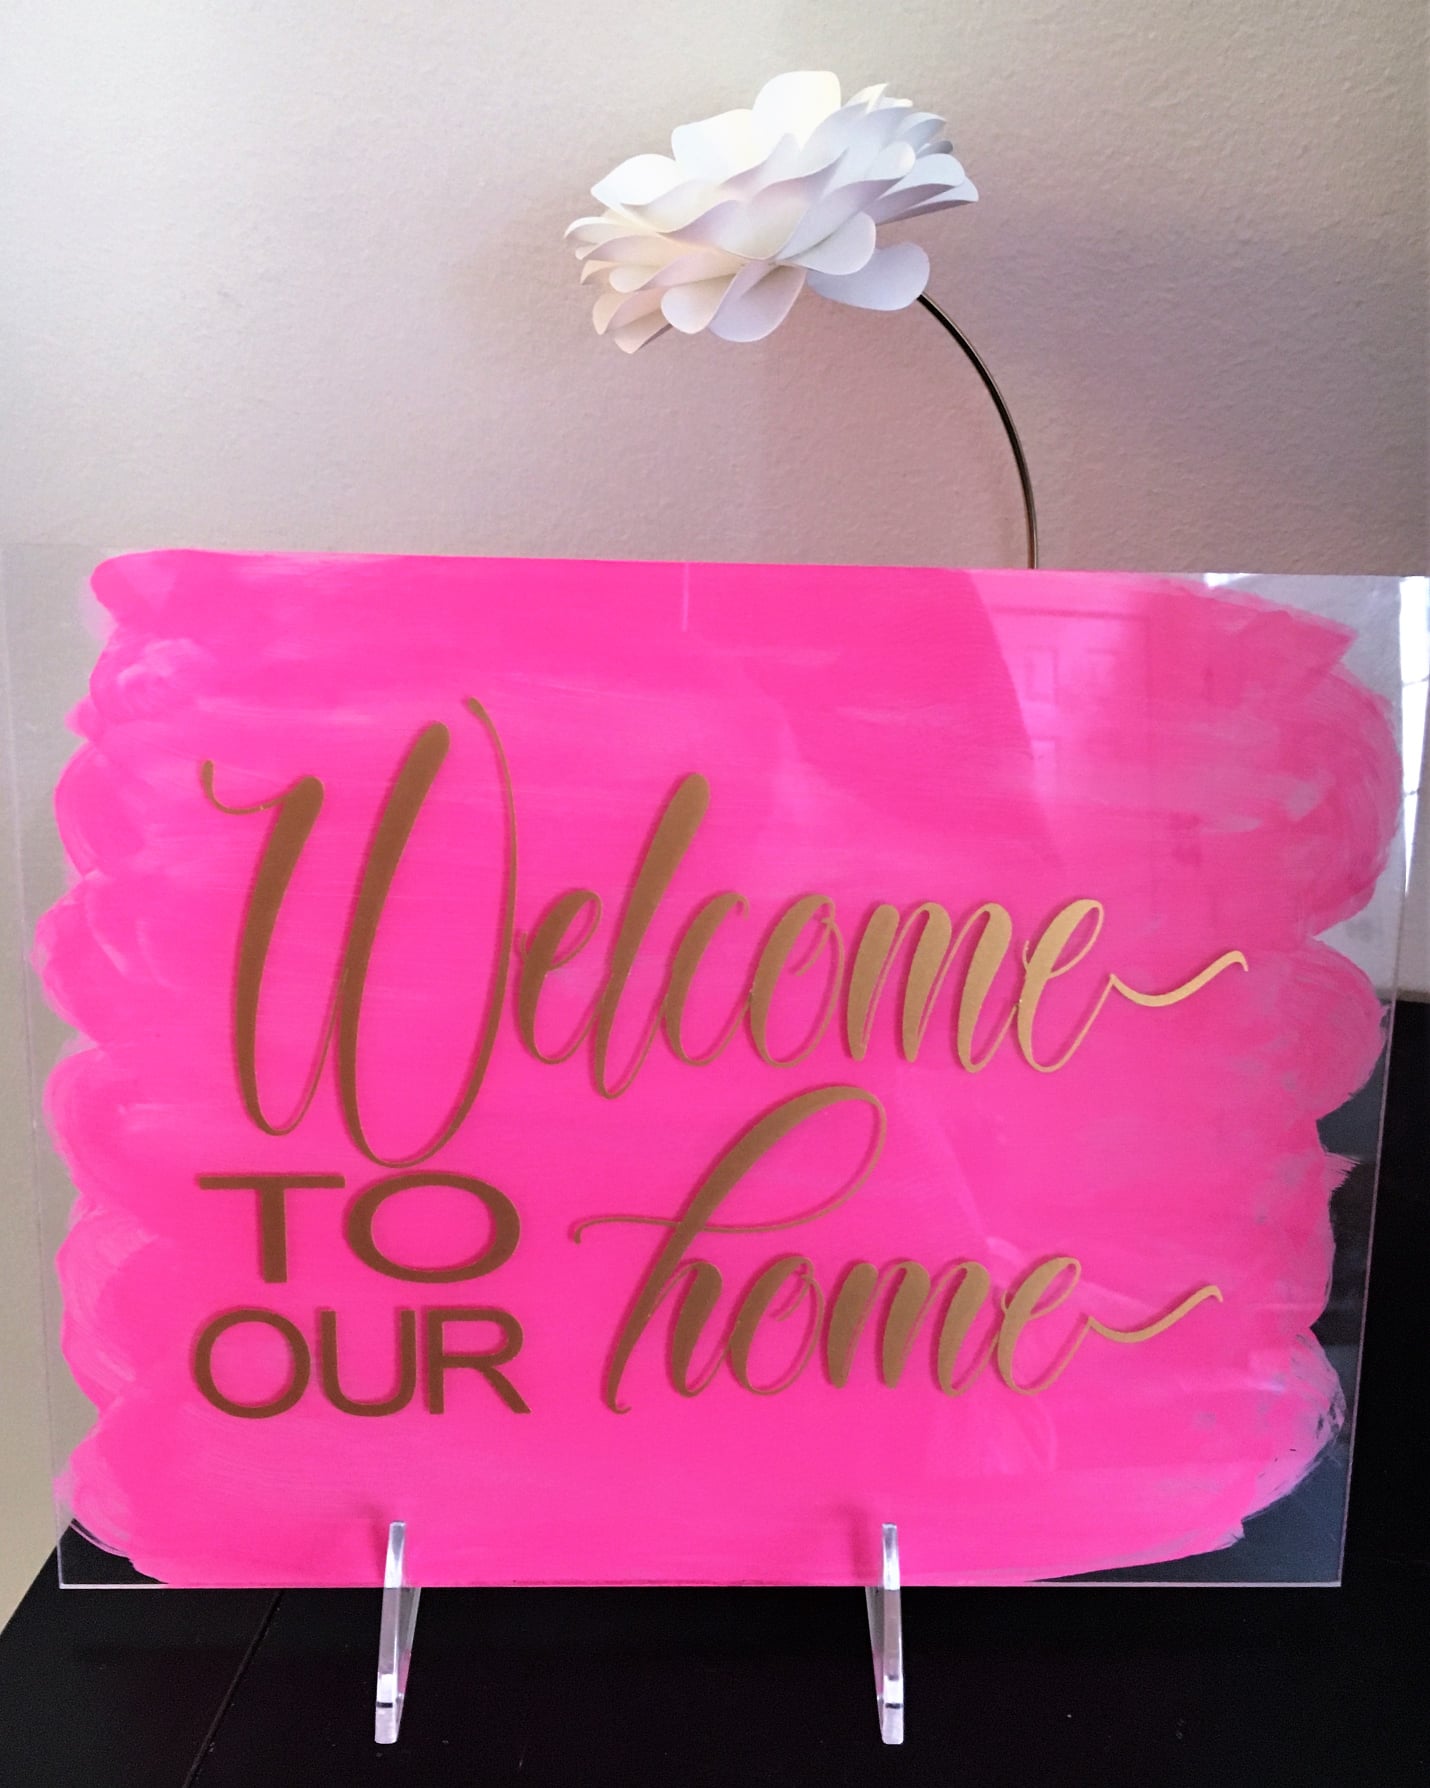
I appreciate simple projects because #busymom life doesn’t leave me with that much time. I love a well-designed party table even more! This acrylic sign project fits the bill as an easy crafting project with an excellent end result that makes any party table proud.
Are you ready to learn the simple steps behind creating a lovely acrylic sign with a little bit of paint and of course your beloved Cricut machine? This easy-to-follow tutorial is just what you need. Read on to learn about the materials, tools, and detailed steps, and you’ll be creating wonderful pieces!
No Time to Read This Project Right Now? If you need to come back to this, be sure to save or share this free tutorial. Most people save it to a crafting pinboard or share it with a Facebook group focused on crafts.
Materials:
- Acrylic sign – you can get this either at Amazon or Home Depot
- Acrylic Paint from Michaels – I enjoy working with FolkArt brand. It lays on easily and doesn’t leave smudges. Make sure to use water based paint for ease of use
- Permanent vinyl – I get mine at Expressions Vinyl use my coupon TIPS
Steps:
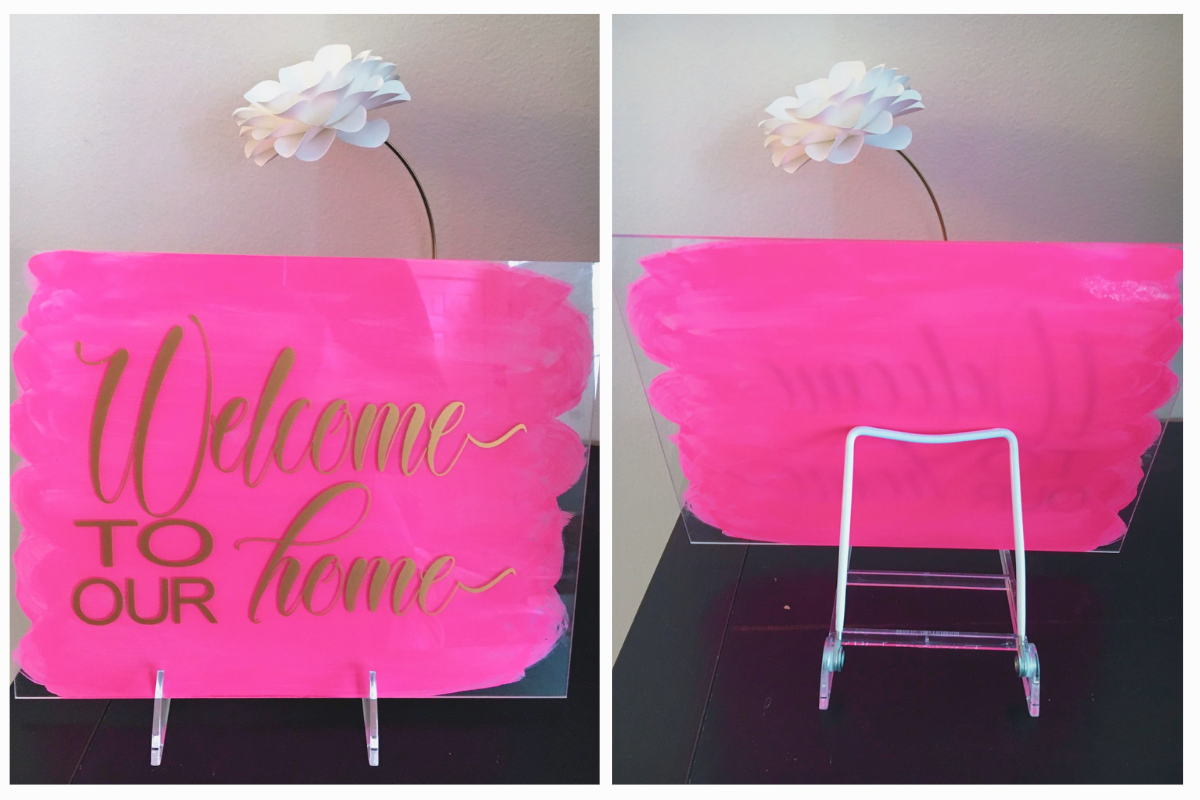
- Paint one side of your sign with acrylic paint. Here you have a choice of how you want to paint it. You can do it with a wide stoke with sharp imprints or seamless. If you are using water based paint, if you don’t like the look, you can remove the paint and re-do it
- Cut out your greeting with your Cricut machine, and apply transfer tape to it
- Clean the side of the non-painted side of your sign with alcohol wipes. Let it dry up. Next carefully apply your vinyl to it. Make sure to go slow. Acrylic material is very smooth and flat. You don’t want to end up with bubbles in your vinyl. For getting your designs with no bubble, I highly recommend reviewing advice/direction from a professional vinyl installer that gave a class to my group. It is a longish video, but it is packed with amazing information and practical steps on how to apply your vinyl and avoid bubbles
- For the test part, I used broken heart font with using I Love Glitter to add glyphs on the ends. Here is tutorial on how to create glyphs
Enjoy!
Signs and more!
- Acrylic Sign DIY Project – Fancy signs
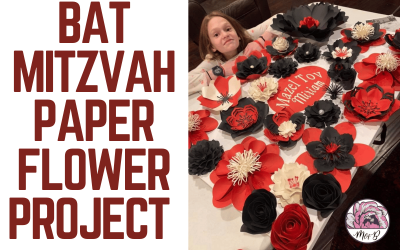
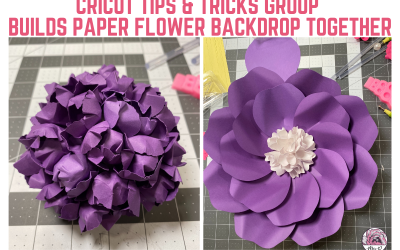
- Paper Flower Tools – Paper Type, Supplies, Tutorials & Templates
- Easy DIY Wedding Sign – Welcome your guests!
Save and Share with fellow crafters, friends, and family
Your shares help this site grow so more people can live, learn and make beauty.

Would love to try it